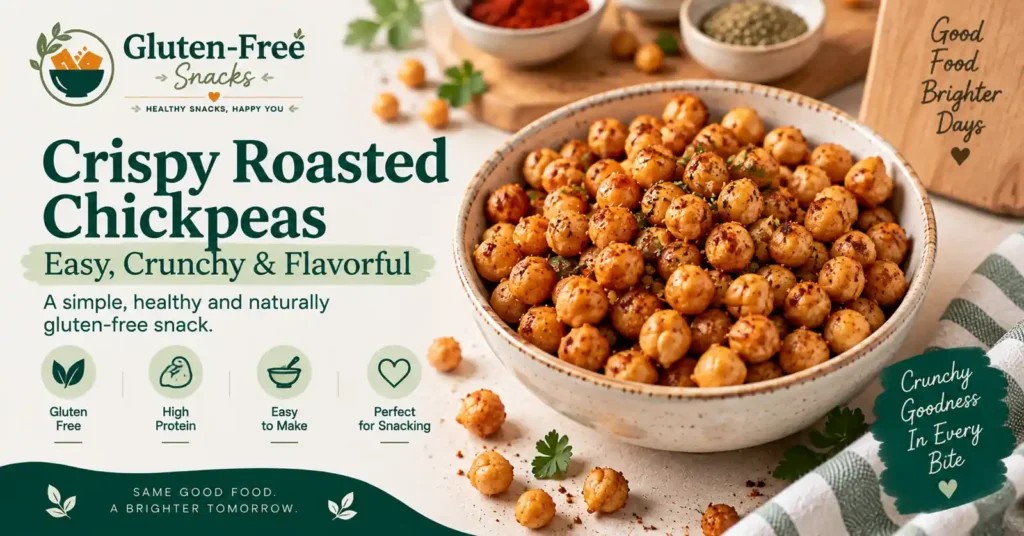
If you want a snack that is crunchy, savory, and easy to make, crispy roasted chickpeas are a great choice. Chickpeas, also called garbanzo beans, become golden and crisp when roasted with a little oil, salt, and your favorite seasonings. They are naturally gluten-free and can be enjoyed on their own or used to add crunch to salads, grain bowls, and soups.
The biggest challenge is getting that satisfying crunch instead of soft or chewy chickpeas. The key is to manage moisture, spread the chickpeas out so they roast evenly, and cook them until they are truly crisp. In this guide, you’ll learn how to make crunchy roasted chickpeas in the oven, explore simple seasoning ideas, try an air fryer option, and fix common problems that can keep chickpeas from getting crispy.
Why These Crispy Roasted Chickpeas Get So Crunchy
The secret to crispy roasted chickpeas is controlling moisture from the start. Chickpeas that are still wet can steam in the oven instead of developing a crisp, golden-brown exterior. For the best crunchy roasted chickpeas, remove as much surface moisture as possible before roasting and arrange them in a single layer with enough space for hot air to circulate. Avoid overcrowding the baking sheet, which can slow browning and leave some chickpeas soft.
Roast until the outside is dry, golden, and noticeably crisp rather than stopping as soon as they start to brown. Finally, let the chickpeas cool before serving. They can become firmer and develop an even better crispy texture as they cool.
Ingredients for Crispy Roasted Chickpeas
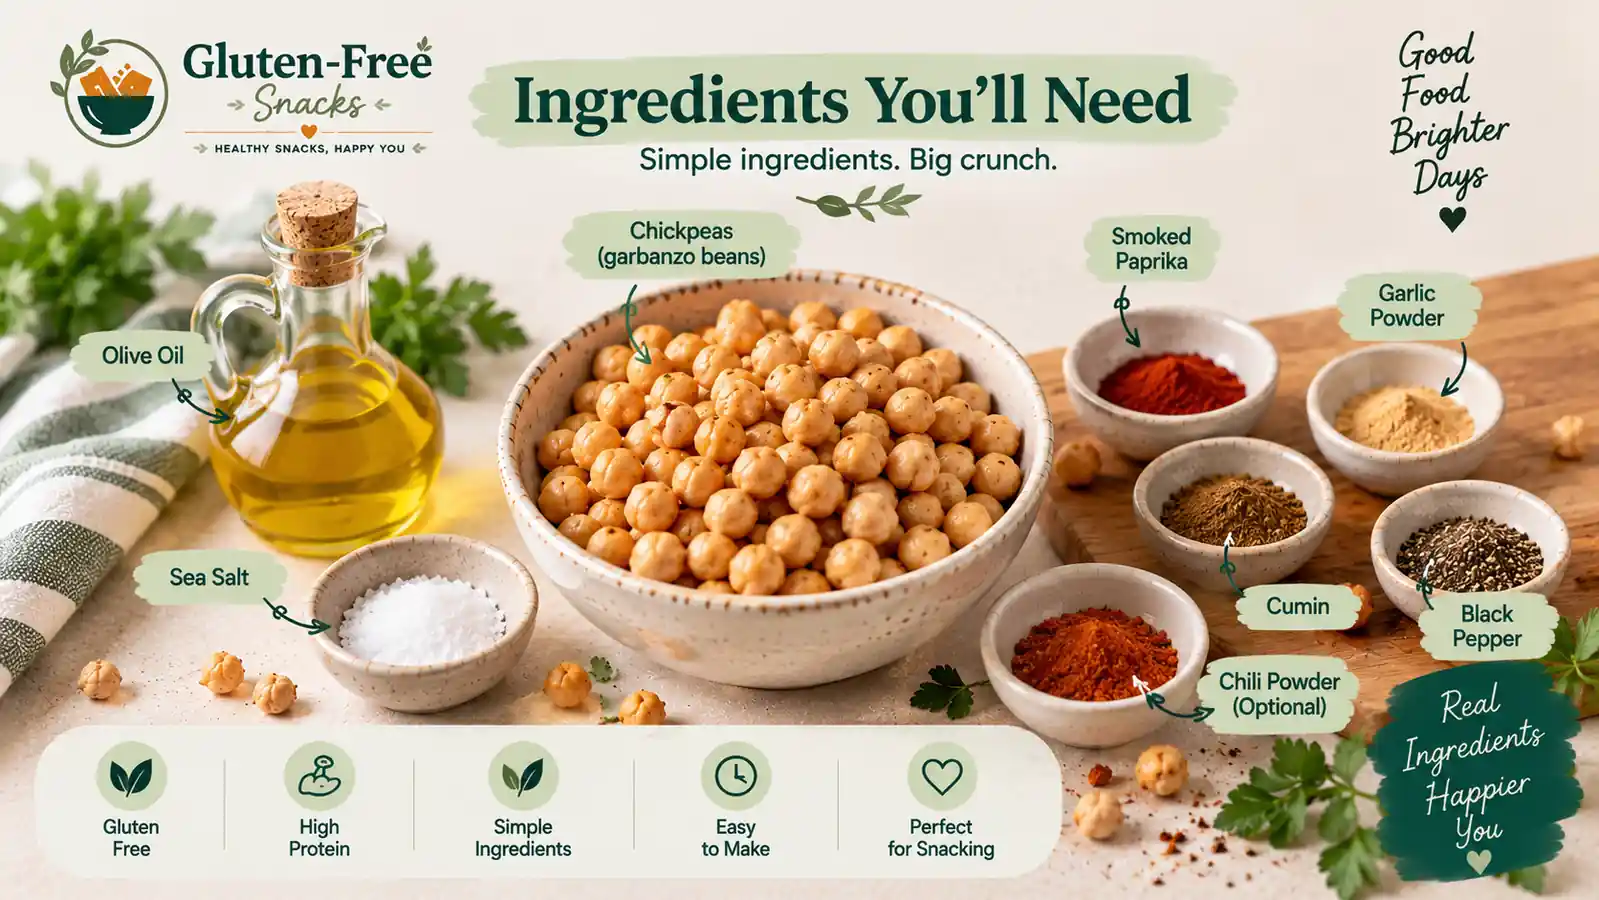
You only need a few simple ingredients to make crispy roasted chickpeas. Use canned chickpeas, also called garbanzo beans, for the easiest option, or use about 1½ cups of cooked chickpeas. Drain and rinse canned chickpeas well, then dry them thoroughly before adding the oil. This helps remove excess moisture and supports a crispier texture.
For the basic recipe, you’ll need:
- 1 can chickpeas, drained and rinsed
- 1–2 tablespoons olive oil
- Sea salt, to taste
- Optional seasonings, such as smoked paprika, garlic powder, cumin, black pepper, or chili powder
Keep the base simple and adjust the seasoning to your taste.
How to Make Crispy Roasted Chickpeas in the Oven
Making crispy roasted chickpeas is simple, but the preparation matters. The goal is to remove excess moisture first, then roast the chickpeas until they develop a dry, golden, crunchy exterior.
1. Drain and Rinse the Chickpeas
Start with one 15-ounce can of chickpeas, or garbanzo beans. Drain them in a colander and rinse well under cool running water. Rinsing removes the liquid from the can and gives you a clean base for roasting.
2. Dry the Chickpeas Well
This is one of the most important steps for extra crispy chickpeas. Spread the rinsed chickpeas on a clean kitchen towel or paper towels and gently pat them dry. Let them air-dry for a few minutes if you have time. Remove any loose skins that come away easily, but don’t spend time peeling every chickpea. Peeling is optional.
3. Spread Them in a Single Layer
Arrange the dry chickpeas on a large, rimmed baking sheet in a single layer. Leave some space between them instead of piling them together. Good spacing allows the hot oven air to circulate and helps the chickpeas roast rather than steam.
4. Roast Until Golden and Crisp
For this recipe, preheat the oven to 400°F (200°C). Lightly coat the chickpeas with olive oil and salt, then roast for about 30–35 minutes, stirring or shaking the pan every 10 minutes. They should look dry and golden and feel crisp on the outside. Start checking toward the end because ovens and chickpeas can vary.
5. Add the Seasoning
For the best flavor, toss the hot chickpeas with your chosen spices after roasting. Adding delicate seasonings too early can cause them to burn or become bitter. Try smoked paprika, cumin, garlic powder, or chili powder.
6. Cool Before Serving
Let the crunchy roasted chickpeas cool briefly before serving. Allowing them to cool completely on the baking sheet can help them develop an even firmer texture.
Quick tip: If your chickpeas are still soft after roasting, give them a few extra minutes rather than relying only on their color. The goal is a dry, crisp exterior and a satisfying crunch.
The Best Seasonings for Roasted Chickpeas
Once your chickpeas are crisp and golden, seasoning is where you can make them your own. A simple blend of sea salt, garlic powder, paprika, cumin, or chili powder can turn plain roasted chickpeas into a flavorful snack. Add the seasoning while the chickpeas are still warm so it coats them evenly. For delicate spices, adding them after roasting can also help prevent burning.
| Flavor | Simple Seasoning Blend |
| Classic Garlic & Paprika | Garlic powder + paprika + sea salt |
| Smoky & Spicy | Smoked paprika + chili powder + black pepper |
| Mediterranean | Cumin + paprika + dried herbs |
| Curry | Curry powder + cumin + sea salt |
| Sweet & Spicy | A little maple syrup or other sweetener + chili powder + salt |
How to Make Crispy Chickpeas in an Air Fryer
An air fryer is a quick way to make crispy chickpeas with a deeply golden, crunchy exterior. Start by draining and rinsing the chickpeas, then pat them dry well to remove excess moisture. Spread them in a single layer in the air fryer basket so the hot air can circulate around each chickpea.
Air fry at 380°F (190°C) for about 12–15 minutes, shaking the basket every 5 minutes for even cooking. Check near the end and continue for another minute or two if they are not yet crisp. Once golden and crunchy, transfer them to a bowl and let them cool for a few minutes. The chickpeas can become even crispier as they cool.
Why Are My Roasted Chickpeas Not Crispy?
If your roasted chickpeas turn out soft or chewy instead of crunchy, moisture is usually the main issue. Here are the most common problems and simple fixes:
- Chickpeas were too wet: Pat them dry well before roasting. You can also dry-roast them briefly before adding oil and seasoning for an extra-crispy texture.
- The pan was overcrowded: Spread chickpeas in a single layer with space between them. Crowding reduces airflow and can cause them to steam instead of crisp.
- They were removed too early: Keep roasting until the chickpeas are dry, golden, and crisp. A few extra minutes can make a noticeable difference.
- Seasoning burned: Add delicate spices after the main roasting stage so they do not burn or turn bitter.
- They softened after storage: Let them cool completely before storing. If they lose their crunch, briefly reheat them in the oven or air fryer to re-crisp them.
These simple adjustments can help you get extra crispy chickpeas with a much better crunch.
Are Crispy Roasted Chickpeas a Healthy Snack?
Crispy roasted chickpeas can be a nutritious choice when you want something crunchy and satisfying. Chickpeas naturally provide plant-based protein and fiber, and plain chickpeas are naturally gluten-free, making them a useful base for a gluten-free snack. Roasting gives them a crisp texture that can make them a flavorful alternative to some traditional crunchy snacks.
You can also control the amount of olive oil, salt, and seasoning used at home. Keep in mind that the overall nutrition depends on the ingredients and serving size, so more oil or salt will change the final result. For a simple high-protein, fiber-rich snack, roasted chickpeas can be an easy option alongside a balanced diet.
How to Serve Crispy Roasted Chickpeas
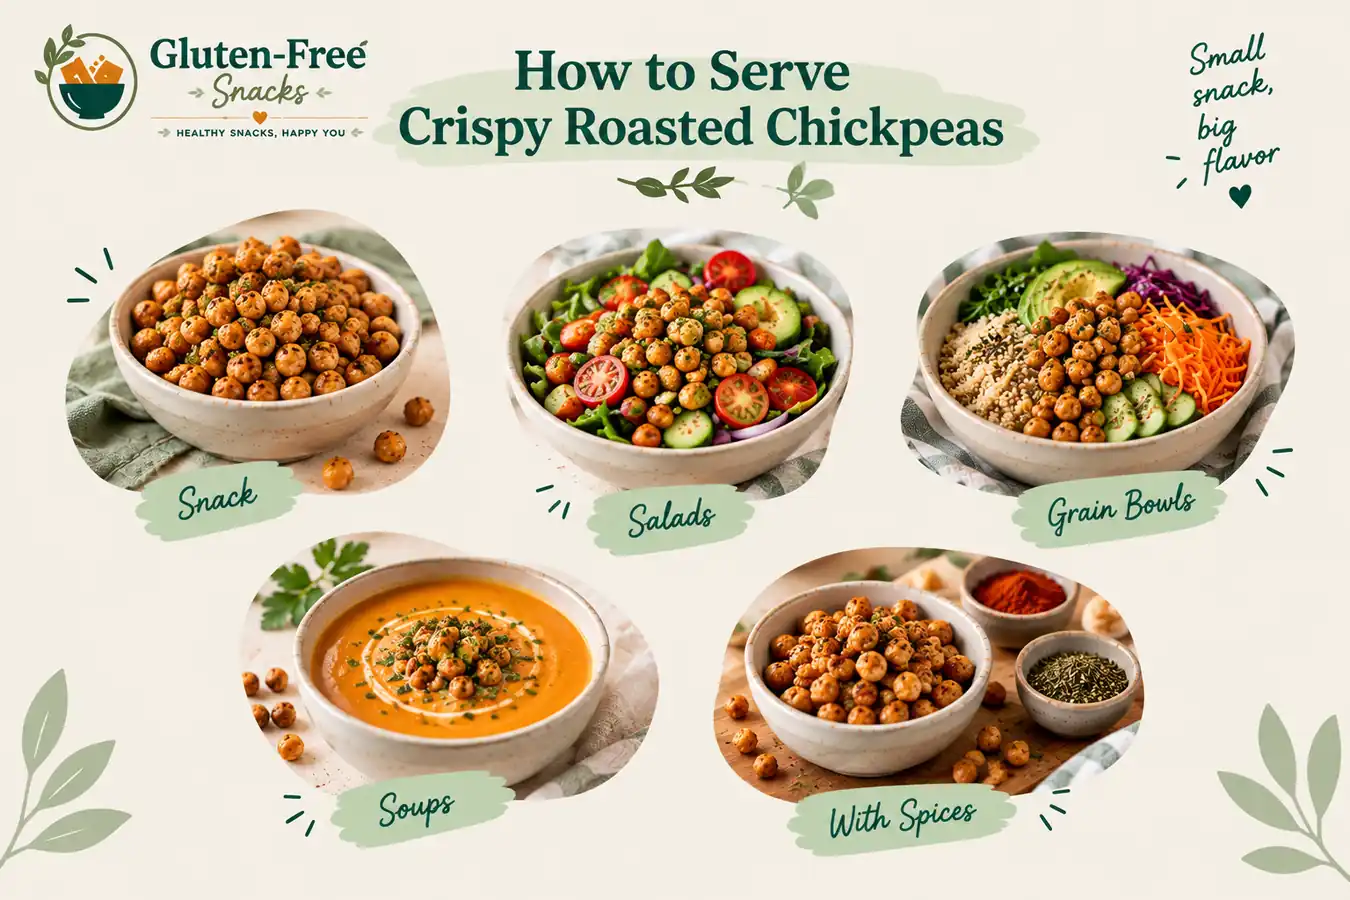
One of the best things about crispy roasted chickpeas is how versatile they are. Their crunchy texture works as both a snack and a topping.
- As a snack: Enjoy seasoned chickpeas straight from the bowl.
- On salads: Sprinkle them over leafy greens for extra crunch. They can complement or replace croutons.
- On grain bowls: Add them to rice, quinoa, or other grain bowls for a crispy element.
- On soups: Use them as a crunchy topping.
- With dips: Serve them alongside hummus or other dips for a simple savory snack.
They are especially useful when you want to add crunch, plant-based protein, and fiber to an otherwise soft or creamy dish.
How to Store Roasted Chickpeas
For the best crispy texture, let roasted chickpeas cool completely before storing them. Any trapped heat can create moisture and make the chickpeas soften. Once cool, keep them at room temperature in a loosely covered container rather than sealing them while they are still warm.
They are at their crunchiest when freshly made, and the texture naturally becomes softer over time. For the best texture, enjoy them fresh or within about two days.
If your chickpeas lose their crunch, re-crisp them in the oven or air fryer for a few minutes. Let them cool briefly before serving again.
Crispy Roasted Chickpeas FAQs
Yes. Canned chickpeas are convenient and work well for this recipe. Drain and rinse them thoroughly, then dry them well before roasting.
No. Peeling is optional and not necessary for crispy roasted chickpeas. Removing loose skins is fine, but you do not need to peel every chickpea.
Focus on moisture. Dry the chickpeas thoroughly, avoid overcrowding the pan, roast until golden and crisp, and let them cool before serving. A dry-roasting stage can also help remove moisture.
Yes. Spread them in a single layer and air fry until crisp, shaking the basket during cooking.
Roasted chickpeas naturally lose some crispness over time. Moisture from the air can also soften them, especially when they are stored while still warm or in a tightly sealed container. Re-crisp them briefly in an oven or air fryer.
Plain chickpeas are naturally gluten-free, making them a useful gluten-free snack. However, check packaged seasonings and spice blends for their ingredients and labeling before adding them.
For the best crunchy texture, enjoy them fresh or within about 2 days. Crispness generally decreases as they sit.
Final Thoughts
Making crispy roasted chickpeas is easier than it may seem. With canned chickpeas, a little olive oil, salt, and your favorite spices, you can turn simple ingredients into a crunchy, flavorful snack. The oven does most of the work, while proper drying and spacing help create that satisfying crisp texture. Enjoy them straight from the bowl, or sprinkle them over salads, soups, and grain bowls for extra crunch.
If you enjoy simple and flavorful gluten-free snack recipes, explore more ideas from Gluten-Free Snacks.